How to blur part of a screenshot on Mac
Read on 6 Oct 2026
Short answer
macOS can take the screenshot and let you mark it up, but Apple's Markup guide does not list a blur tool. It lists sketch, draw, shapes, loupe, highlight, text, sign and crop, among others. For a real blur you need an app that has one, such as Croptrove. And if what you are covering is secret, do not use blur at all: blur and pixelate can sometimes be reversed. Use a solid fill.
Way 1: With what macOS has built in
- Press ⇧⌘5 to open the Screenshot toolbar, or ⇧⌘4 to drag over an area.
- A thumbnail floats in the bottom-right corner for a few seconds. Click it to open Markup.
- Choose the Shapes tool and draw a rectangle over the part you want to hide.
- Set the Fill Color to a solid colour so the shape is not see-through.
- Click Done.
- Reopen the saved file and check that nothing shows through.
This gives you a cover, not a blur. Apple's Preview has a Redact tool, but Apple documents it for PDFs only. It is not available for PNG or JPG images.
Way 2: Blur with Croptrove
- Install Croptrove and allow Screen & System Audio Recording in System Settings → Privacy & Security.
- Press ⌘⇧4 and drag over the area you need. A small card appears with the result. macOS uses the same shortcut for its own screenshots, and until you turn macOS's shortcut off, macOS wins. Croptrove's "Take over macOS screenshot shortcuts" screen shows you where (System Settings → Keyboard → Keyboard Shortcuts… → Screenshots).
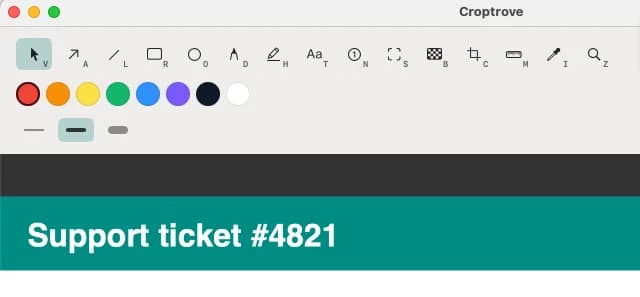
- Open it in the editor. The toolbar has Select, Arrow, Line, Rectangle, Ellipse, Pen, Highlighter, Text, Counter, Spotlight, Redact / Blur and Crop tools.
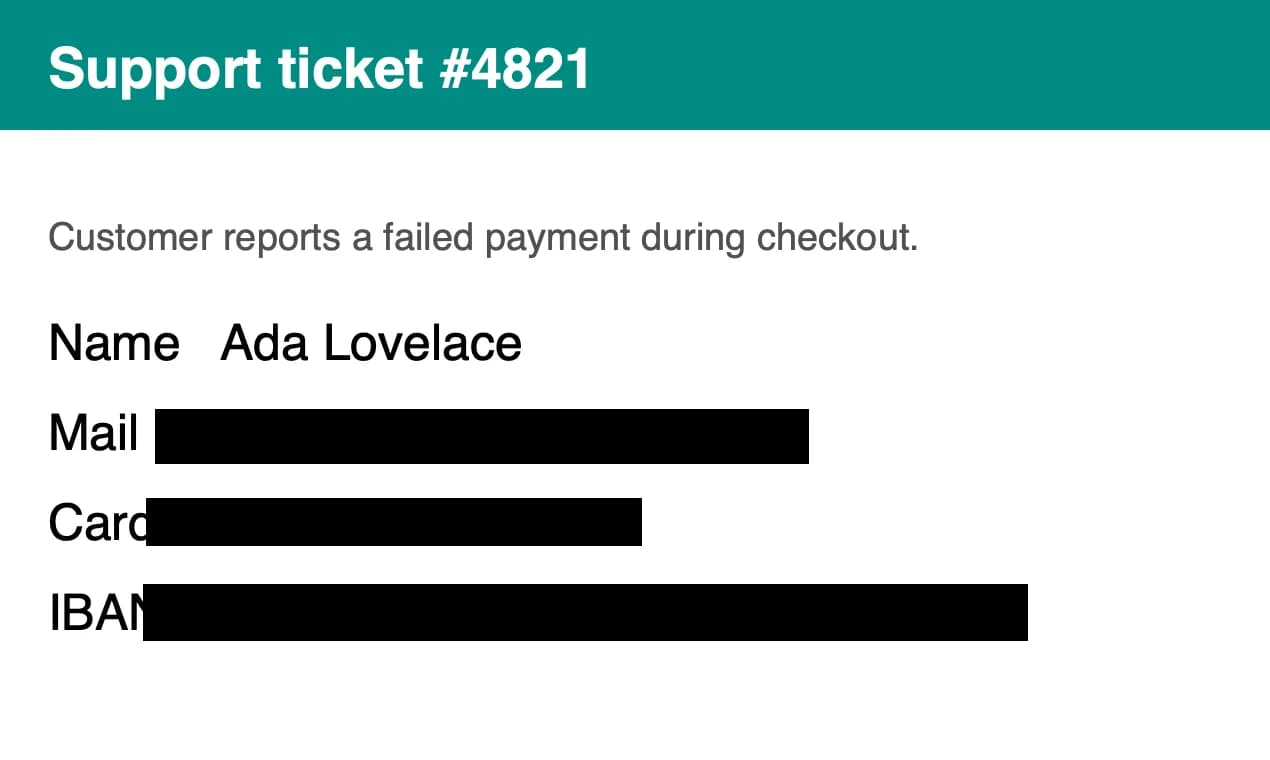
- Open the Redact / Blur tool (shortcut B) and choose the Blur style, then drag over the part to soften. The tool has three styles: Redact (solid fill, permanent), Blur and Pixelate (both can be reversed).
- Check the result at full size. If the text is still readable, make the blurred area bigger or switch to the Redact style instead (below).
- Copy, save or drag the image out.
Blur is for softening a face or a background. It is not for secrets. Croptrove says it plainly: "Blur and pixelate can be reversed; to really hide something, use Redact."
Way 3: Let the privacy shield find it
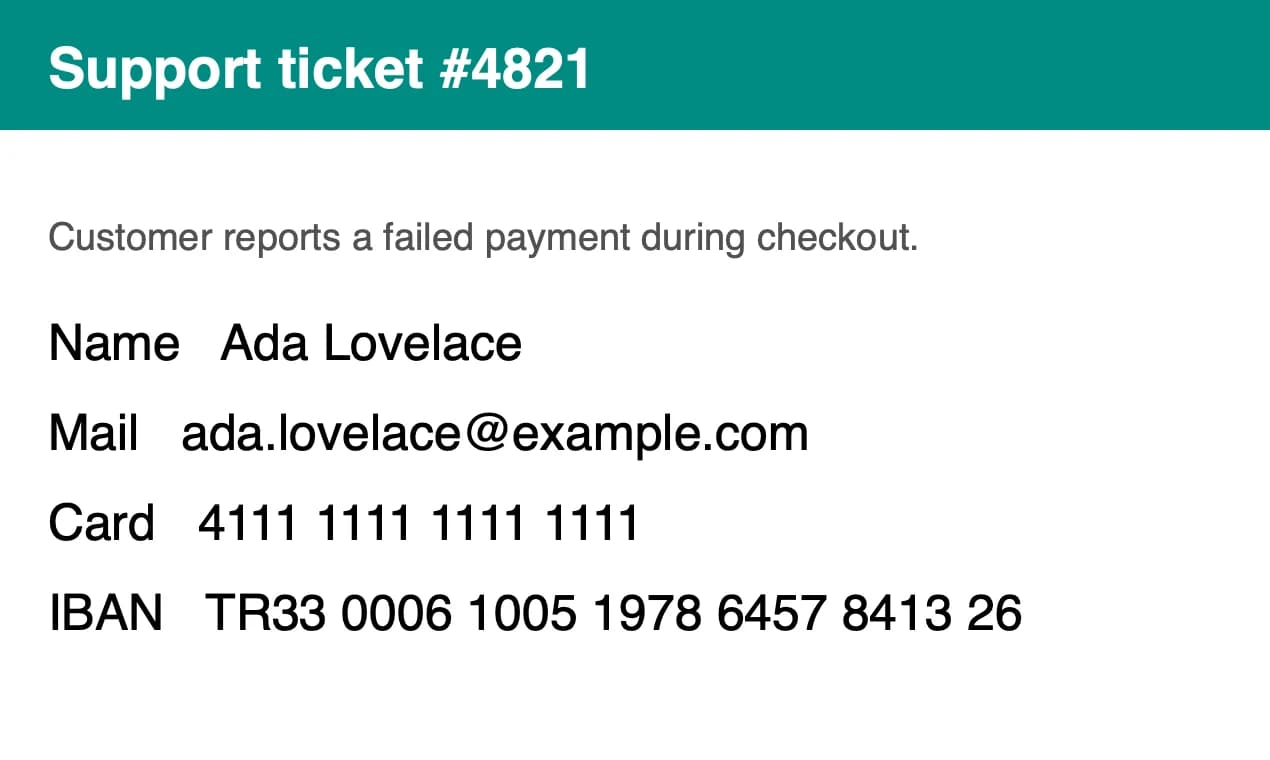
- Capture as above. The privacy shield reads the text on your Mac and finds patterns such as card numbers, IBANs and API keys.
- By default the shield is in "Automatic blur" mode: the findings come already covered, the panel says how many items were masked, and each row has an Undo button (there is also Undo all at the top). Undo any you don't want.
- Prefer to decide for yourself? Choose Settings → Privacy & Permissions → Privacy Shield → "Suggest only" (the other options are Off and Automatic blur). Then the panel lists the suggestions and nothing is covered until you press Apply on a row or Apply all.
- Covered areas are a solid fill: Redact changes the pixels in the exported file; the data underneath is not kept.
- Export a PNG and share that. Do not share a project file (.cxproj): it contains the original.
No detection method is perfect. Always look at the result before you share.
Blur, pixelate or Redact?
| Use | When |
|---|---|
| Blur / pixelate | A face, a background, anything harmless you just want softer. Can be reversed. |
| Redact (solid fill) | A card number, an email, a key, a name. Changes the pixels in the export. |
FAQ
Is blur safe for passwords or card numbers? No. Blur and pixelate can be reversed. Use a solid fill.
Can macOS blur a screenshot without an app? Not with Markup: Apple's guide to its tools does not list a blur.
Does Preview's Redact work on screenshots? Apple documents Redact for PDFs. A user thread on Apple Community says it is not available for image files.
Is Croptrove free? The free version includes capture, the annotation editor with blur, and the privacy shield, with no watermark.
Try Croptrove
Download Croptrove (DMG, macOS 14+) and try the privacy shield on a screenshot of your own.